Configurator Setup Guide
This guide provides clear steps for setting up the Configurator to test a site with specific doctypes. Follow these instructions to correctly configure your testing environment.
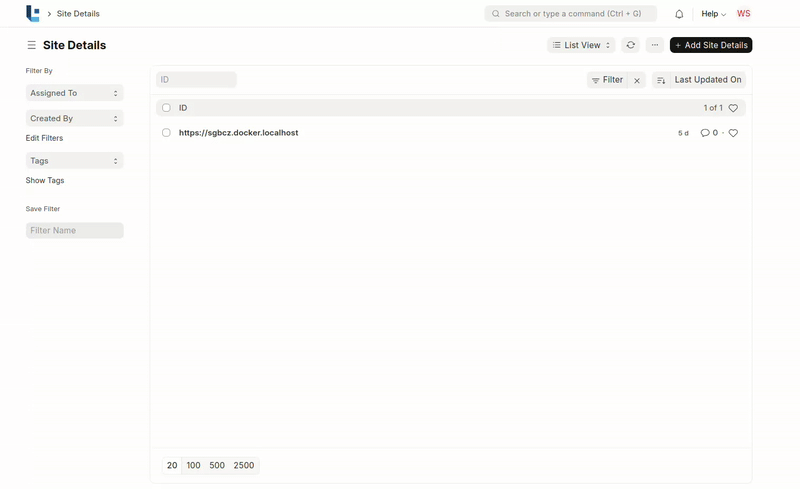
Step 1: Add Site Details
- Go to the Host Site: Start by navigating to the host site.
- Search for the Site Details Doctype: In the search bar, type in the “Site Details” doctype.
- Add a New Site Detail: Click on “Add” to create a new entry for the site you want to test.
- Input the Site Name: Enter the name of the site you want to test.
- Enter the Authorization Key: Provide the basic authorization key for the site.
- Enter the Client Name: Add the client name associated with the site.
- Enter Doctypes to Test: Enter the doctypes you want to test for this site.
- Save the Site Detail: Once all fields are completed, save the site details.
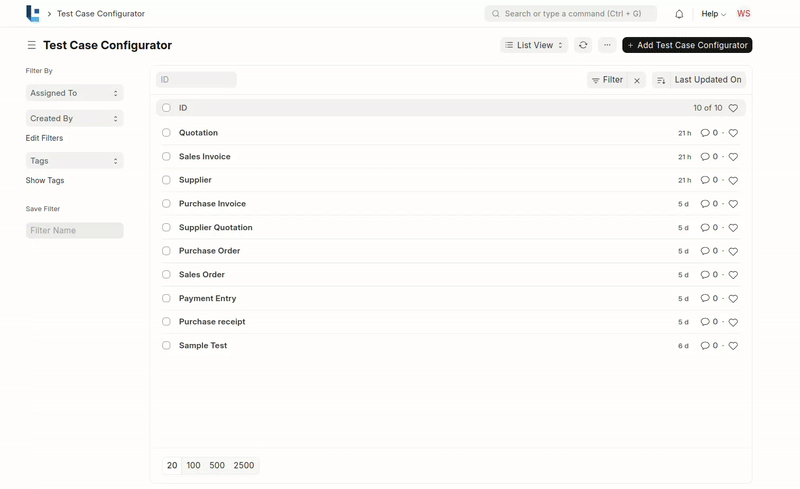
Step 2: Add a Test Case Configurator
- Search for the Test Case Configurator List: Look for the Test Case Configurator section.
- Click on Add Test Case Configurator: This will open the form to add a new test case.
- Enter the Title: Give your test case a descriptive title.
- Enter the Sequence Number: Specify the order in which the test case should proceed. This helps in defining the flow if multiple test cases exist.
- Set “Depends On” Field: If your test case depends on a previous test case, select the relevant field in the “Depends On” section.
- Select the Site Name: From the dropdown, choose the site you added earlier in the Site Details Doctype.
- Choose the Doctype to Test: Select the doctype that you wish to test from the dropdown menu.
- View the JSON Response: After selecting the doctype, save it and in the “More Info” tab will automatically display the JSON response with all the fields.