
Modifications and Customizations
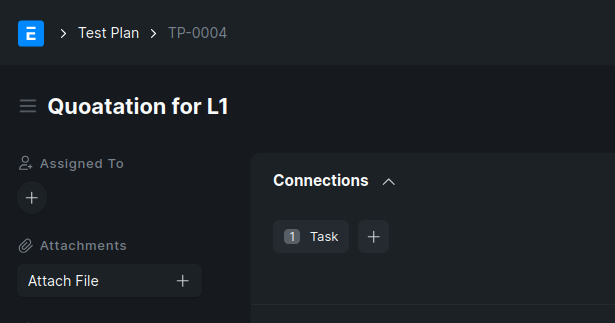
Linking a Doctype to another Doctype in Connections
This helps the viewer identify at a glance which document types are connected to this DocType and can quickly create new related documents.
UseCase
Want to link the Task Doctype in the Test Plan Doctype.
Steps:
- Go to the Test Plan Doctype and click on Customize Form.
- In the Linked Documents section, add the following and click Save:
- Link Doctype: Task
- Link Fieldname:
test_plan(The field in the Task Doctype that maps to the Test Plan)
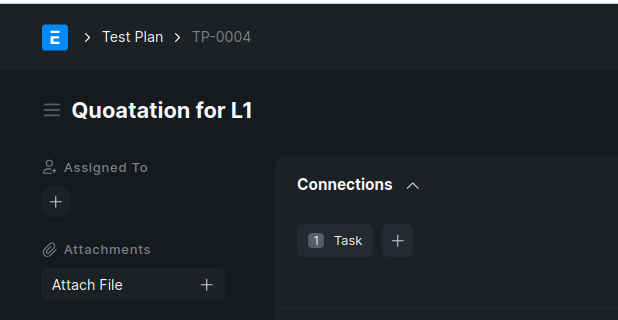
Sample Output:
Make the Child Table View with Default Columns
This helps maintain a consistent and clear view of the columns in a child table.
UseCase
Want to set up the Test Plan Script child table to display specific columns by default.
Steps:
- Go to the child table Doctype: Test Plan Script.
- For the fields you want to display, enable In List View under the List / Search Settings.
- In the Display Settings, specify the number of columns (e.g.,
2) to organize the layout.
Sample Output:

To Download the Child Table
This helps to export the child table in CSV format.
UseCase
Want to download the Test Plan Script child table (Test Plan Script is attached to the Test Plan Doctype).
Steps:
- Go to the parent Doctype: Test Plan.
- In the Fields section, edit the child table field (Test Plan Script).
- Enable the Allow Bulk Edit option.
Once enabled, you can download the child table data as a CSV from the form view.
Sample Output:

How to Use Dynamic Link
A Dynamic Link field allows you to reference documents from any Doctype dynamically based on the value of another field.
UseCase
To choose any Doctype and dynamically fetch the relevant document from that Doctype.
Steps:
- Create a new Doctype (e.g., Reference ID).
- Add the first field:
- Label: Reference Doctype
- Type: Link
- Fieldname:
reference_doctype - Options: DocType
- Add the second field:
- Label: Reference Name
- Type: Dynamic Link
- Fieldname:
reference_name - Options:
reference_doctype(this should match the fieldname of the Link field above)
This setup allows users to first select a Doctype and then pick a specific document from that Doctype.
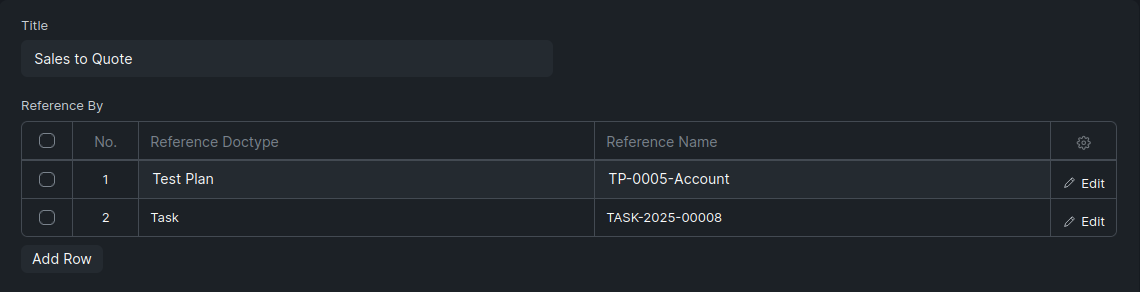
Sample Output:
How to Use Table MultiSelect
Instead of a child table with an Add Row button, this allows selecting multiple values in a single field.
UseCase
To multi-select entries from the Test Plan Script child table in a parent Doctype.
Steps:
You should have a parent Doctype with the Test Plan Script child table already defined.
- Go to another Doctype where you want to reference the child table.
- Add a new field with the following configuration:
- Label: Test Scripts
- Type: Table MultiSelect
- Options: Test Plan Script (Name of the child table)
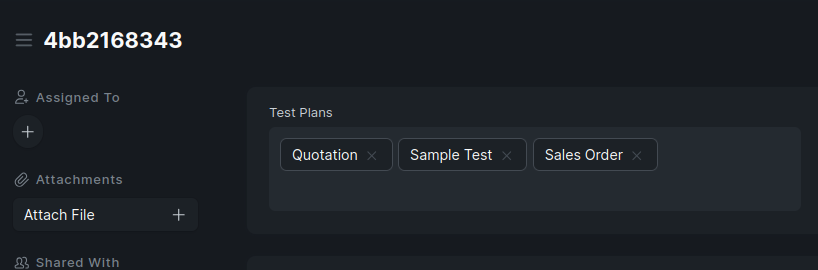
Sample Output:
How to Give the Expression Naming Series
This helps to provide a naming pattern that will be incremented automatically.
UseCase
Want to set the naming format as TP-001 for the Test Plan Doctype.
Steps:
- Go to Customize Form for the Test Plan Doctype.
- In the Naming section, choose the naming rule: Expression (Old Style).
- Set the Auto Name value to:
TP-.####
This will generate names like TP-0001, TP-0002, etc.
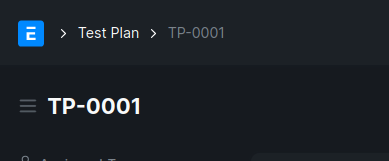
Sample Output:
How to Make a Different View in the Title and ID
This allows you to display a specific field as the title in the form view, instead of the default ID.
UseCase
You want to show the Subject field as the title in the form view of the Test Plan Doctype.
Steps:
- Go to Customize Form for the Test Plan Doctype.
- In the View Settings, set the Title Field to
subject.
This will make the form display the value of the Subject field as the document title instead of the autogenerated ID.
Sample Output:
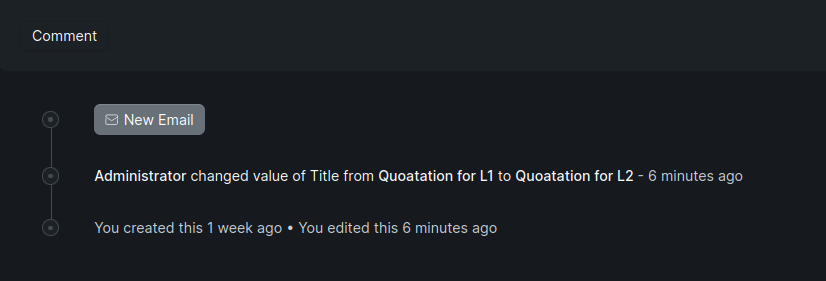
To Track Changes for a Particular Doctype
This helps to track changes made to a document over time, including who made the changes and when.
UseCase
You want to track if any user has changed a value in the Test Plan document and identify who made the change.
Steps:
- Go to Customize Form for the Test Plan Doctype.
- Enable the Track Changes checkbox.
This will enable automatic logging of changes in the document’s timeline.
Sample Output:
How to Give Permission to Guest Role in Frappe
This enables public users (who are not logged in) to submit form entries or data via a web form or API without requiring authentication.
Use Case
Allow unauthenticated (Guest) users to create Appointment records through the website.
Steps
-
Go to:
Settings → Role → Role List -
Search for and open the “Guest” role.
-
In the Guest role document, click on “Role Permissions Manager” at the top.
-
Click “Add a New Rule”.
-
In the dialog:
- Doctype:
Appointment - Level:
0(default) - Permissions to Check:
CreateRead
- Doctype:
-
Click Save.
Note
The Guest role is used for unauthenticated users (like website visitors). Avoid giving Write, Delete, or Submit permissions unless absolutely necessary for security reasons.
Use Case
Apply Filter for the Link Field in the Customization level
Steps
-
Go to Doctype Customization
-
Click on the Link field where you want to apply the filter (e.g., a field linking to
Customer). -
Click on the Filter icon (small funnel symbol).
-
Click Add Filter
-
A popup will open — here, define your filter using key-value pairs.
- Example:
- Field:
Customer Group - Condition:
= - Value:
Retail
- Field:
- Example:
-
Click Apply.
-
Click Save to save your customization.
-
Click Reload to apply changes in the system.